HI! It's meeeee!
OK back to discuss the next piece of Sepia-Gate. If you didn't see part 1 - go here to read up on it. Like I said - I have a lot of thoughts and there is SO much to unpack. But most importantly, I really realized through reading the comments and such that people who don't do photography don't understand the process. And THAT IS OK! I know that I love getting my hair highlighted and nails done. Do I understand the process of those? Nope. So, I am going to explain part of the photo editing process.
Annnnyway! So the editing process can take a long time. It really depends on what all the photographer is doing to the photo. It is much more than "slapping on a filter". Though - there are photographers out there who do just apply preset and they are done with it.
After shooting - photographers will download the photos, sometimes run through their culling software, sometimes run through AI software, upload into their preferred tool (Lightroom, Photoshop, CaptureOne, etc.), and then start to edit. After the preset is applied, they make tweaks to colors, exposure, white balance, curves, color grading, etc.
For me personally - I always adjust the white balance first, then blacks and shadows, then exposure. There are usually tweaks to colors I make, and that is ALL dependent on the image itself.
OK - I want to address this one that I see a lot. Most people who reference RAW do not know what they are asking for. Again, it is OK that the word is misused. You probably are not a pro photographer!
For photography, there are two file types - RAW and JPEG. Most photographers shoot in RAW. RAW allows for us to capture the MOST data possible in the images. It makes the files HUGE!


You can see above, this is a single photo of my son. The file size is 38.8 megabytes. Some shots are larger. Photographers take thousands of photos in a wedding day photography coverage. The size of these files adds up. Me personally, I upload all images onto an external hard drive to work off of, and then I also backup the images to another hard drive that I do not work off of for safe keeping. I also, personally (I know this is NOT what most photographers do but I am a data hoarder and it is just my process) do not ever wipe or write over sd cards. I have too much anxiety to do this so I save them and have tons of card holders of full of sd cards.
This is a single wedding when I converted file size of bytes to GB.
These files can ONLY be opened with specific software. Can you get access to this being a non-photographer? Yes, absolutely. Most of the time it has a subscription cost though. But you cannot just open the RAW photo, see the image and use phone apps and Insta filters to edit. You have to use specific software to even view the photos! Unless you get the JPEG photo - those you can open on your phone and view/edit with apps. But you lose a lot of data.
Most of the time when people are asking for RAW...they are asking for UNEDITED. Just keep that in mind.
RAWS also often look really flat and dull. Why? Because it allows for extra/advanced editing!
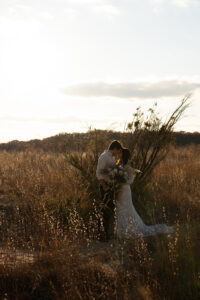
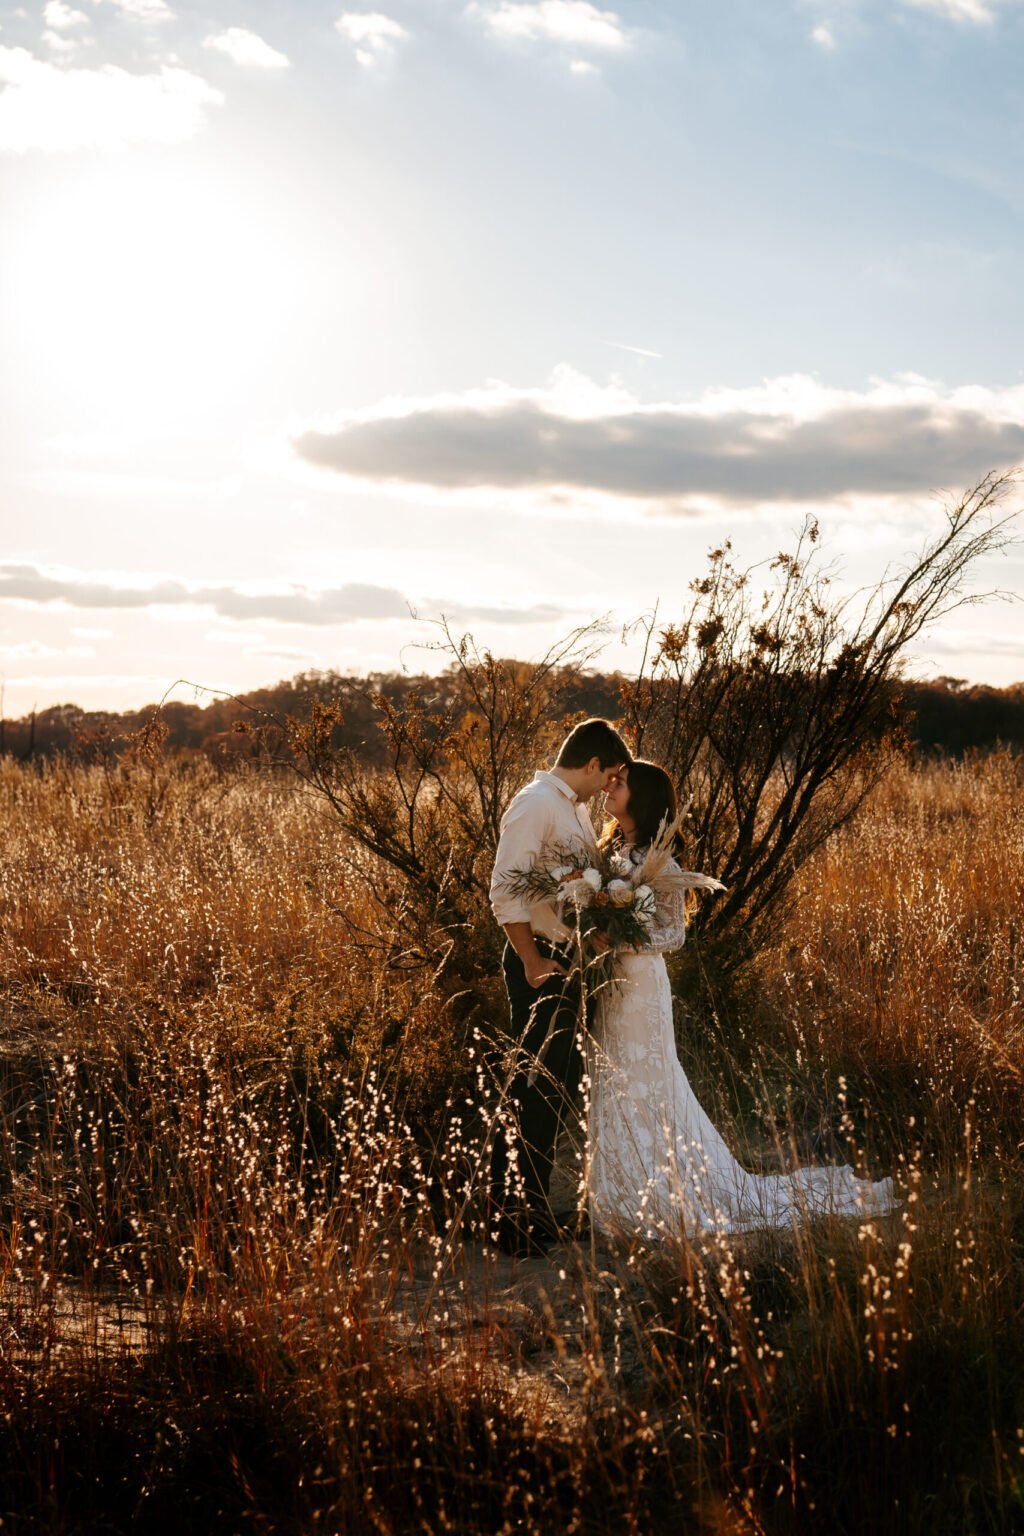
You can see above...this is an unedited JPEG image. I took the RAW it was shot in, uploaded to my software and then exported it as a JPEG for purposes of this demo. It is dark, colors feel dull, the couple is super shadowed. I shot it intentionally to give me more details to pull out in my final edit. I'll show the process here in a second.
Final comment on RAW - most photographers will NEVER EVER EVER hand out the RAW, unless there are specific circumstances. This is considered the base of the art the photographer is creating for you. You wouldn't go to McDonalds and ask for the uncooked version of the chicken nuggets, right? And if you did, they'd probably look at you like you're nuts. I saw on Sepia Gate photographers trying to explain this and the original bride saying "Stop comparing to food lol". OK - then new analogy - you wouldn't hire a makeup artist, then say can you just give me all the makeup and I'll put it on myself, right? The makeup artist would be like uh no. But maybe they'd help you and compromise by saying you can put your lashes on yourself. If you talk to your photographer and explain what is lacking, chances are they will get on a call with you and do a screenshare edit where you can point out what you do not like and make adjustments live on the call. This would avoid so many issues. Explain 'the grass is too orange'. Then photographer can adjust the tone of the orange, change the white balance, etc.
So once base edits are made, many photographers, though not all, will use brushes to make small micro-adjustments. Below you can see the various edits that take place.
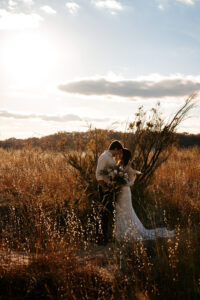
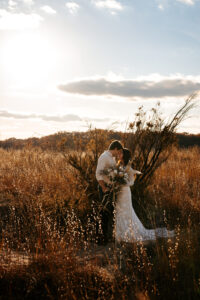
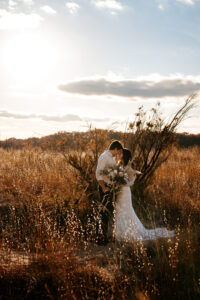
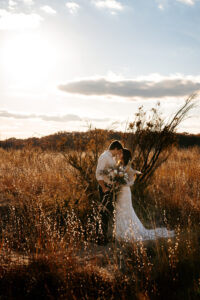
Depending on what I am wanting from the image, I may do some removal of trees and whatnot. I may also throw into Photoshop to enhance the sun coming in, or make other minor adjustments.
I think that explaining the editing process is so important. So many people think it's just a filter. I think social media and the proliferation of filters on platforms has led people to believe photographers have access to the same type of technologies and that just isn't the case. A lot of care does go into it! There are multiple phases. It is all part of the art and vision of that photographer. We care SOOOOO much about you and your images. We WANT you to love your photos. To share them and hang them on your walls. We want you to brag about them. When we hear you don't like something, we often take it personal and it hurts bad! So if there is something you'd want adjusted, please keep that in mind. Remember that your photographer is human and mistakes happen. Talk to them. Don't blast them or be rude to them or demanding or criticize their art. State I love the photo so much but the color of the grass is really distracting to me. Can that be adjusted? And photographers - remember that most clients have no idea what they really want, they just know that something is bugging them in the image. Jump on a Zoom, screenshare, and discuss what is bothersome to them. Make the adjustments live on the call so that you can fully understand what they don't love. If someone said they don't love the tone, I'd start by changing the white balance. Then adjust whatever tone they aren't loving. It'd take me not much time at all. But rather than a back and forth through text, just jump on a call and avoid situations like sepia gate.
I have a few other thoughts on this topic and will be posting more! Hope you tune in to the next post!
